Wednesday, February 13, 2013

Love Is In The Air

Well, seeing as I was in Office Max today and they had chocolate and roses for sale (random?!?), I would venture to say that Valentine's Day is just around the corner.  And what better to give than roses from Office Max jewelry... NOTHING!

Without further adieu, here is my top 5 jewelry round up for V-day:

Sassy and bold - LOVE!


I definitely need more smokey jewels in my life.

I know I'm falling for a trend here, but one sweet little mint bracelet couldn't hurt, right?!?

Simple and sophisticated.  (Please note I had to look up the spelling for sophisticated... I guess that should probably mean something.)

Lastly, I have been lusting after this necklace for 3 years.  Nothing says I'm cooler than you are like emeralds floating around in your pendant necklace.  I HEART this necklace!

I have to say this is not too shabby of a list from a girl who doesn't care that much about Valentine's Day!

Cheers,
Jessie

Tuesday, February 12, 2013

The Writing On The Wall

As promised, I'd like to give you a little further insight into our new and improved laundry room door...
Seeing as I like to take projects to the extreme, I decided since we already had one chalkboard door outside that we should bring the party inside and add magnets!  The monster loves our outdoor chalkboard, but I can't always send him out there on a whim (as much as I may want to sometimes).

I debated the location of such a door for the while.  I was concerned it wouldn't live up to my hopes and dreams in the kitchen.  Filled with Pinterest images of gourmet menus and inspirational quotes... 


Let's be fair, we're really not that kind of a family.  Ours would be more like to have a dirty joke and crude stick figures.  With that in mind, the laundry room door became the first choice.

#1.  It is out of the way so our crassness could easily be concealed.
#2.  It is still in a central part of the house.

The actual project is not hard at all.  Go buy a can of magnetic paint and a can of chalkboard paint and get rolling!
You need to apply the magnetic paint first, but you can paint any color on top of it.  My only suggestion would be to do no more than 2 coats.  Otherwise, you weaken the magnetic field.  (Do I sound smart?) After that, you just need to let the paint rest for about a day and then play away.  

My only problem has been that not all magnets stick to the door, but the majority have been fine.... which is one reason I still have a few DIY projects in the works.  Trial and error, my friends.  Regardless, you can tell that the monster is already loving his new canvas and I'm quite happy with the results!

Cheers,
Jessie

Friday, February 8, 2013

Surprise!

In a shocking turn of events, I painted a door!  I know most of you were probably hoping for something better than a door as my surprise project, but did I mention that it is magnetic and chalkboard all in one!
It is still in the process of curing and I have a few more little DIYs to slap up there, but for the meantime I'm enjoying my Stickygrams new home and the paint fumes!  I'll give a run down next week.

Cheers,
Jessie

Thursday, February 7, 2013

Get A Handle On It!

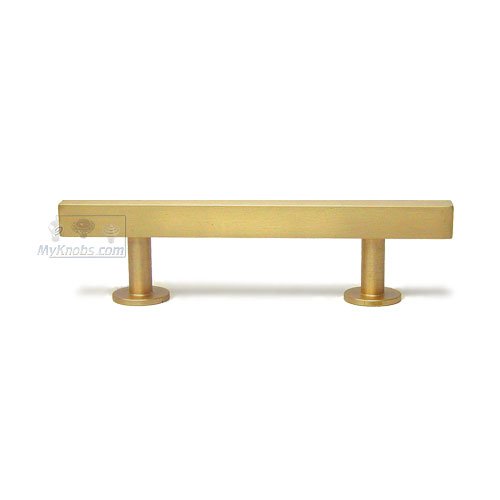
With the house reno less than one month away, there are some big decisions to be made.  Specifically, what kind of hardware to put on the new built-ins?  That's right!  The built-ins are coming, the built-ins are coming! I'm not sure if I could be more excited.

With images of this dancing around in my head, I'm having a hard time narrowing down the choices for  the hardware.

You know I always love a little color...

But there is something to be said for classic, timeless design.

However, I keep coming back to this one.  It's traditional and masculine, but feels fresh.

Decisions, decisions... any thoughts one way or the other?

Cheers,
Jessie

PS - The secret project is almost done.  Now if only my hands weren't black.  :)

Wednesday, February 6, 2013

I Can Do That!

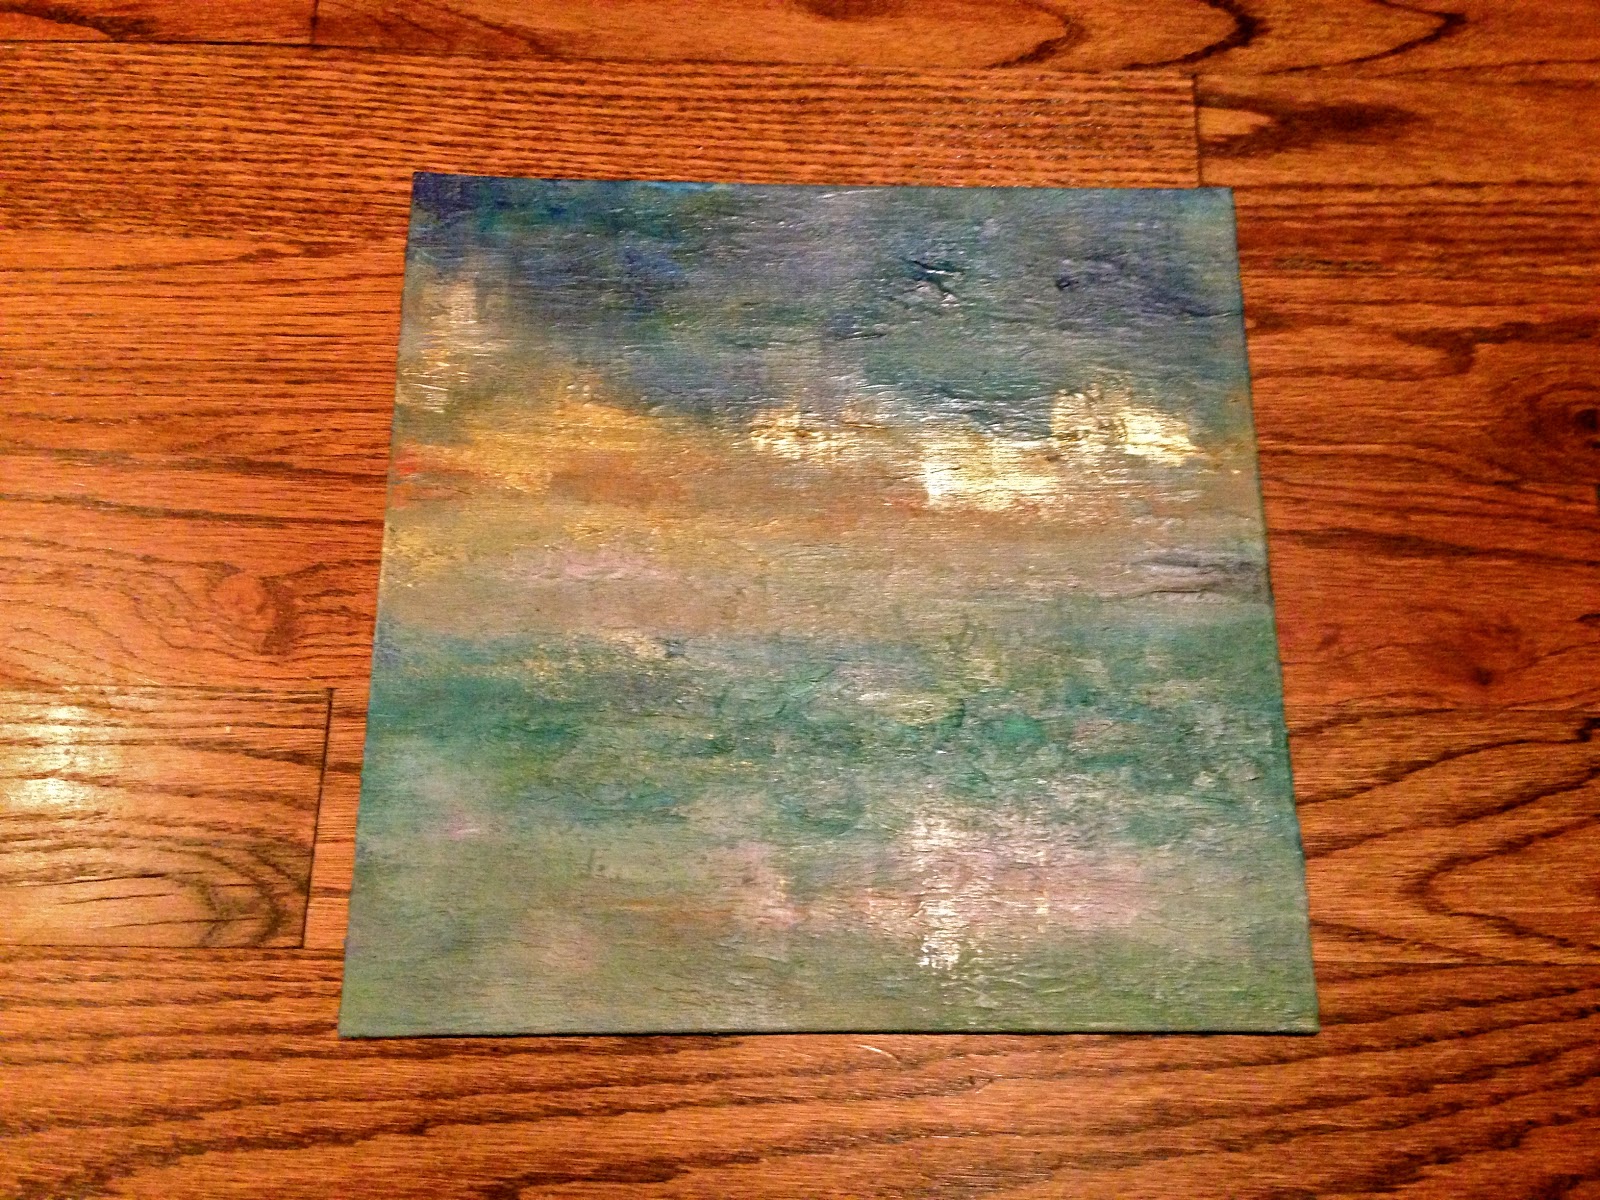
So after my little rant last week on custom framing, I thought... how hard can it be?!?  I then decided to undertake a little framing DIY.

I bought this abstract painting after Christmas.  It is on canvas board so I needed someway to hang it.
After looking around a bit, I decided that a floater frame was the best option.  Typically, the frame allows for a 1/4" gap on all sides of the painting for a modern 3D effect.

Seeing as I had just used up my custom framing budget for the month, I went the crafty route.  I was perusing Urban Outfitters home section randomly and came across their record album frames.  
I thought the look was perfect!  The painting just needed to be mounted inside.  Hence begins my DIY skills... 

I bought a piece of black foam core and cut it into 2 pieces slightly smaller than the painting.  I superglued them together for extra strength.
Then I affixed the foam board to the painting & frame with poster strips since I didn't want them permanently attached.  (Just in case I decide to change my mind.)  
When all was said and done, I was left with this... 

I have to say that I am fairly pleased with the results especially when you consider that the total project came in around $25 dollars.  Not too shabby!

Cheers,
Jessie

PS - Just to keep the suspense going, here's another element of my surprise project!

Tuesday, February 5, 2013

When The Cat's Away...

You know how the old saying goes and staying true to my usual style, I've decided to undertake a few secret projects while Hootie is away on business.  As my beloved husband once told me, it is better to ask forgiveness than permission.  We'll see how that plays out.

I can't tell you too much, but here are a few clues...
Happy guessing!

Cheers,
Jessie  

Friday, February 1, 2013

I've Been Framed!

You will be excited to know that I now have two beautifully framed pieces of artwork for the casa.  Most of the time, I would rather gouge my eye out than pay the ridiculous price of custom framing, but sometimes it is a necessary evil.  Other times, you have a different option... and that is what I am most excited about today!


Cue Aaron Brothers Timeframe.  (No, I am not getting paid for this and yes, I certainly wish I was.) Remember that adorable watercolor we had made of Monster's lovie.  Seeing as Monster isn't into fine art quite yet, I didn't want to spend a ridiculous amount of money framing it, but I did want it framed.  This is the best of both worlds... you pick any ready-made frame in their store and add museum glass + a mat + a gallery style backing for $20.  The price varies based on the size of the frame, but basically this deal cost me $30!  Holla!


However, I did want something a little more special for my new painting from my new fav artist, Carolyn Shultz.  So I went the custom route, but kept it simple and I am thrilled with the results.

Now, if we could just get the rest of this junk hung, I would have the start of a lovely new gallery wall.

PS - I think I have a DIY framing project in the works for the abstract painting on bottom.  It could be disastrous, but I'll keep you posted.  :)

Cheers,
Jessie